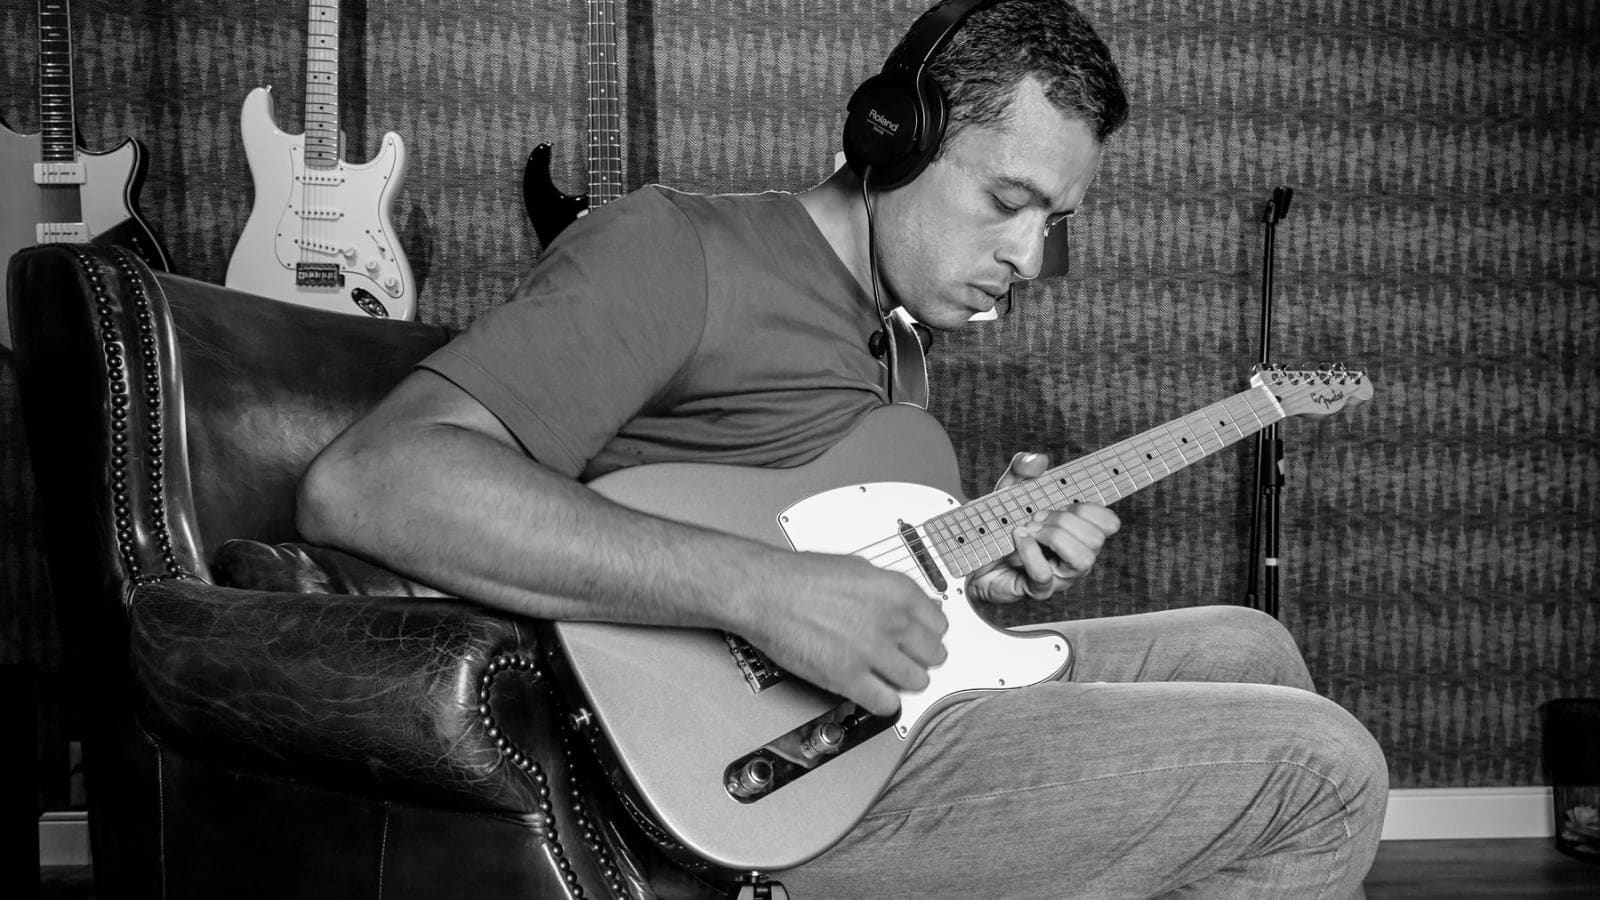
Start your first transcription with a phrase you want to be able to play. Learn how it sounds, find it on your instrument, then check your version against the recording before expanding the project. A complete solo can remain the destination without making its fastest passage your first job.
Featured photograph: Caique Araujo / Pexels.
Choose a passage you can follow
Listen to the complete solo before choosing a section. Look for a short musical thought with an audible beginning and ending, and a line you can distinguish from the accompaniment. Four bars can be a useful starting size, but a two-note response may be the interesting thing. Saxophonist Thomas Hähnlein’s transcription guide explicitly allows the scope to range from individual notes to a whole solo.
Choose the recording as carefully as the tune. A studio take, a live performance and an alternate take can have different solos even when the title matches. Keep the exact link or file, the performer and the location of your passage together. “Second phrase of the first chorus” is useful alongside a timestamp, especially if another upload has an extra introduction.
In David Liebman’s account of the transcription process, choosing music you care about and can use matters more than choosing the most impressive difficulty. He also suggests beginning on your own instrument before extending to others. A pianist can eventually learn plenty from a horn line, but there is no need to add unfamiliar instrumental effects to every other challenge on day one.
You need the recording, a way to replay a section, your instrument and somewhere to keep notes. Use playback you are entitled to access. If the passage moves too quickly, our post on slowing a recording without changing its pitch covers that setup.
Get the phrase into your ear
Guitarist Michael Kaplan describes his approach in a Berklee interview: become familiar enough with the solo to hear it internally and sing it, then work it out on the instrument. That gives the fingers something specific to find. Listening once and immediately running through familiar patterns can turn into composing a plausible answer rather than recovering the recorded one.
Listen, pause, and hum or sing back the selected phrase in a comfortable register. Keep the gaps as well as the sounds. If you repeatedly lose the same middle bit, shorten the section and reconnect it afterward. Return to the whole solo periodically so the phrase keeps its place in the larger line.
Bob Reynolds’ own video, The Benefit of Transcribing Intimidating Solos, offers another musician’s perspective on the work. Treat it as a view into the process; its title is not a requirement to choose intimidating material for your first attempt.
Find the notes without losing the beat
The Berklee PULSE transcription lesson connects the melody to its form, key and downbeats before checking the notes on an instrument. For your passage, establish where you are counting from. The soloist’s first sound may happen before or after the start of the bar.
Find one pitch you can match confidently. From there, compare the next sound with the previous one: does it repeat, move a little, or leap? Check the candidate notes against the recording rather than forcing the line into the scale you expected. Our explanation of relative pitch covers how a reference note helps; you do not need to identify every note without one.
Then give rhythm its own attention. Tap the pulse while listening and speak the phrase’s rhythm on a neutral syllable. Include enough sound before the entrance to hear where it lands. A loop that begins exactly on the soloist’s first note can conceal whether that note was an upbeat.
For example, in 4/4 a phrase beginning on the “and” after beat four enters half a beat before the next bar. If you put that same sequence of pitches on beat one, every note can be correct and the phrase can still arrive late. This is a counting example, not a claim about the passage in the video.
Keep the accompaniment in view too. If a bass note or chord changes under a held melody note, mark where the change occurs. Leave an uncertain chord unnamed for now. A chord symbol chosen because it looks likely can become a misleading explanation for a pitch you have not actually established.
When it sounds wrong, name the mismatch
“Something is off” is difficult to work on. Try to distinguish the kind of difference before replaying the same second twenty more times. These are example problems and checks you can apply to your own recording:
| What you notice | What to check next |
|---|---|
| The line has the right shape but feels displaced. | Play the accompaniment before the entrance. Check the upbeat, the first downbeat and any rest you omitted. |
| One note is uncertain. | Compare the sound before it, the disputed note and the next clear landing. Test the candidates in that short context. |
| Your version lasts too long. | Compare releases as well as attacks. A held note or added gap can shift everything that follows. |
| It works slowly but falls apart with the original. | Separate knowing the notes from being able to execute them at that tempo. Keep the slower reference while preparing the physical passage. |
A question mark is a better record than a confident guess. Kaplan advises moving past a detail you cannot yet hear and returning to it. Write exactly what remains open, then continue with the next clear phrase.
Here is an invented project note showing the level of detail that makes the next session easier:
In our Practis web app, you can keep the transcription project in your repertoire and record this kind of next step in your practice-session notes. A notebook works too. Keep the source recording identifiable so that tomorrow’s comparison uses the same take.
Decide what the written version is for
Teachers differ about when to write. Kaplan learns the solo on his instrument before notating it; Hähnlein recommends writing notes down earlier for beginners. You can use a provisional written sketch without treating it as a finished score. Circle uncertain pitches, leave a rhythm unresolved or add a plain-language reminder instead of polishing an answer you have not checked.
For a score someone else will read, make the rhythm, rests and pitch reference explicit, including whether a transposing instrument’s part is written at concert pitch or its usual written pitch. For your own study, fingering or a short articulation reminder may be the most useful extra detail. Keep that personal information distinct from what the original performer actually played.
Play with the recording again after writing. The PULSE lesson includes this check because the written page is only one representation of what you heard. Once the music is settled, our MuseScore layout guide can help make the result comfortable to read.
Liebman takes the process beyond imitation by analysing phrases and making variations. Choose one thing from the passage you want to explore, such as its rhythm or the way it approaches a chord tone, and try a small variation in an appropriate musical context. Keep the original beside it so you can tell which part you learned from the recording and which part you changed.