
Audio Interfaces for Recording a Digital Piano in Stereo
Compare three audio interfaces for recording a digital piano in stereo, with clear wiring, headphone monitoring, iPad power and a complete cable budget.
Pract.is Editorial
Research-based practice guidance for musicians from the Pract.is editorial team.

Recording your digital piano’s built-in sound in stereo takes two line inputs: one for the left output and one for the right. The number of microphone sockets, the maximum sample rate and the size of the software bundle tell you much less about whether an interface will be convenient beside the piano.
We’d start with the Scarlett 2i2 4th Gen for straightforward front-panel control, the MOTU M2 for visible input meters, or the Arturia MiniFuse 2 OTG for its dedicated mobile connection and monitor-mix knob. Before buying any of them, check one thing on the instrument you already own.
This is a manual-led comparison, checked on 16 September 2026. We have compared documented connections and workflows; we have not conducted a listening test of these interfaces.
Check whether your piano already sends USB audio
Look for USB audio in your exact model’s manual. USB-MIDI transmits information such as notes and pedal movements. It can play a software piano, but it does not by itself capture the sound coming from your instrument’s sound engine.
For example, Yamaha documents a stereo 44.1 kHz, 24-bit USB audio interface in the P-225 specifications. With a supported device, recording app, cable and any required driver, that piano can send its own audio directly. A separate box would add little to a simple solo-piano recording setup.
An external interface becomes useful when your piano lacks USB audio, when you want its analog outputs, or when you also record other sources. Count those sources before choosing: a stereo piano occupies both inputs of every interface below. Recording a vocal microphone at the same time requires another input.
The stereo connection, from piano to recording
Use the piano’s documented LINE OUT or AUX OUT pair. The left socket may say L/MONO or L/L+R; connect the separate right output as well to retain stereo. Both interface inputs must accept line level. Where there is an INST or guitar switch, leave it off for this connection.
Connection map · two audio channels
Keep left and right separate
Select inputs 1–2 as one stereo audio track. Input 1 is left; input 2 is right.
Enable stereo direct monitoring to hear the piano while you play, without a software round trip.
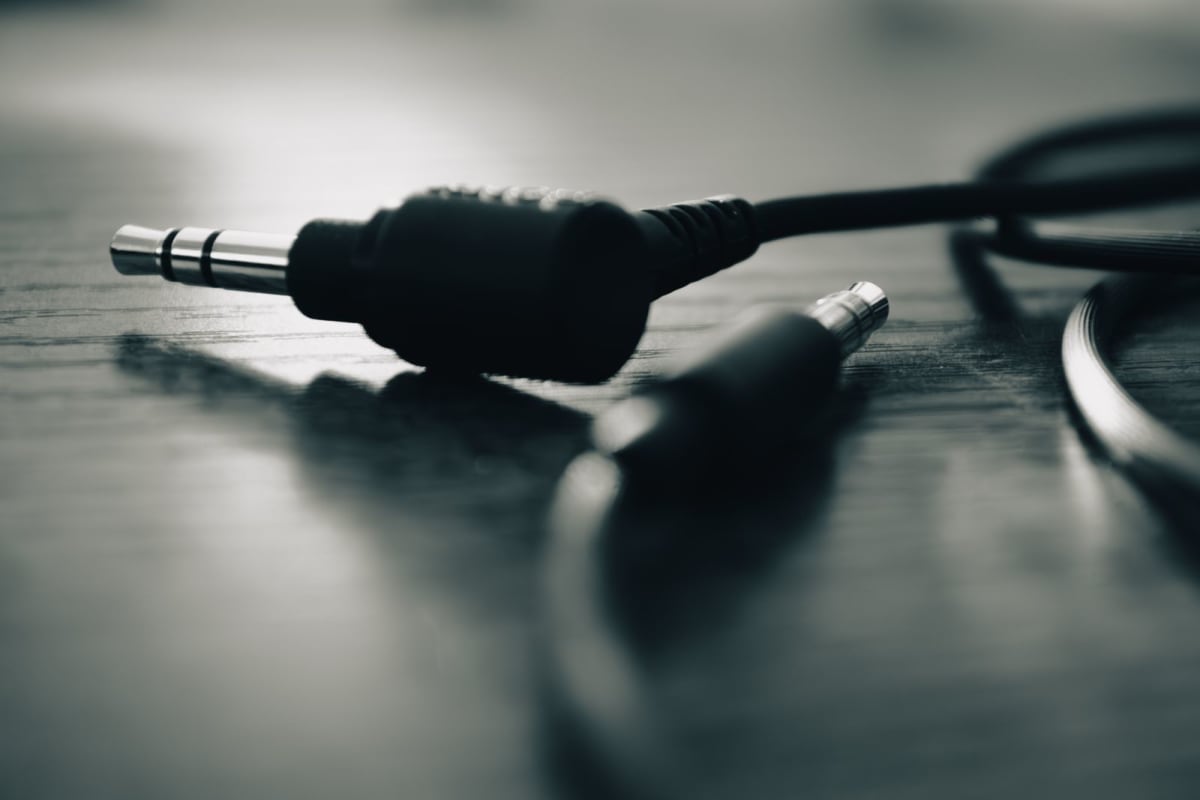
There is an easy cable trap here. A three-contact TRS plug can carry stereo headphone audio, or one balanced mono line signal. A single balanced input is not a stereo input. Running the piano’s stereo headphone output into one such input can produce a thin, partly cancelled signal. It needs a correctly wired left/right breakout into two inputs instead.
For ordinary unbalanced quarter-inch piano outputs, use two suitable TS leads. If the piano documents balanced outputs, use two balanced TRS leads. A balanced cable cannot turn an unbalanced piano output into a balanced source. Focusrite’s stereo-keyboard connection instructions show the two-input arrangement.
Connect with monitoring volume down and follow the piano’s level guidance. Use the interface’s quarter-inch line inputs, not XLR microphone adapters. Leave phantom power off for the piano. Never connect a power amplifier’s speaker outputs to these inputs.
Three interfaces worth considering
All three have two line-capable inputs and a quarter-inch stereo headphone socket with its own volume control. That socket is for one listener; it does not provide two independently adjustable headphone feeds. Existing wired headphones are a sensible starting point, with a stereo adapter if necessary. We have not measured how loudly these units drive difficult headphones.
Affiliate notice: Some links are paid links. As an Amazon Associate, we earn from qualifying purchases.
Simple controls beside the keyboard
Focusrite Scarlett 2i2 4th Gen
The 2i2 puts both quarter-inch line inputs on the front. The XLR sockets are around the back, but they share the same two recording channels: this is not a four-input interface. For the piano, connect the two front jacks and set INST off.
Its Direct button cycles through off, mono and stereo. Stereo sends input 1 to the left ear and input 2 to the right. That makes the required monitor setting easy to reach without opening a control application. Start with Air and other sound-shaping features off when you want a faithful record of the piano voice you selected.
We would be comfortable putting this on a first-time recording shortlist. The front-panel stereo control is particularly useful when the computer sits beyond arm’s reach. Its two inputs are enough for the piano, but leave no spare channel for talking into a microphone during the take.
Input levels you can see on the box
MOTU M2
The M2’s color LCD shows separate input and output meters. That is useful when the piano is across the room from the recording screen: you can check both incoming channels at the interface. Its two combo sockets accept quarter-inch line connections, and five-pin MIDI ports are available for older keyboards.
Press and hold a MON button to engage stereo direct monitoring. The M2 has no dedicated input/playback blend knob, so balancing an accompaniment against the live piano can involve changing playback volume in the app. The larger M4 adds that knob, but buying it purely for two piano outputs may be unnecessary.
A separate connection for a phone or tablet
Arturia MiniFuse 2 OTG
The OTG version has two USB-C connections: one labelled Computer and another for a mobile device. It also has a physical Monitor Mix knob for adjusting the balance between live inputs and USB playback. That is a useful arrangement for a pianist playing along with an accompaniment on a tablet.
There is an important setup detail. The direct-monitor MONO setting lives in MiniFuse Control Center on a computer. With MONO off, the two inputs are panned left and right. Check that setting before making this a tablet-only rig. Also check the model name when shopping: the standard MiniFuse 2 and the MiniFuse 2 OTG have different USB arrangements.
Amazon link opens a search for the exact OTG model.
The mobile port introduces a power requirement that is easy to overlook. For recording the physical piano inputs on a tablet, Arturia specifies using the Computer port only as a power source, with a USB power adapter or power bank. Connecting a computer there changes the routing scenario. Follow the manufacturer’s analog-input recording instructions for this setup.
For an iPad, plan power as well as the data cable
A USB-C socket does not guarantee that one cable will power the interface and charge the tablet. These are separate jobs. Check support for your exact device and operating system before ordering.
Scarlett 2i2 4th GenA supported USB-C iPad can connect directly with a suitable USB-C data cable. If the iPad cannot provide enough power, the interface has a separate 5V DC USB-C input. Focusrite documents this in its iPad connection guide.
MOTU M2MOTU documents direct USB-C iPad connection with a C-to-C cable. For Lightning, its manual, page 18 specifies a powered USB hub plus Apple’s Lightning to USB 3 Camera Adapter. The included interface cable is USB-C to USB-A.
MiniFuse 2 OTGConnect the tablet to OTG and provide power at Computer for analog-input recording. The supplied USB cables cover C-to-C and C-to-A connections. Budget separately for a suitable power source; the OTG cable is not a tablet-charging solution. See Arturia’s mobile-device connection guide.
If charging during a long session matters, price the supported hub, power supply and cables before comparing interface totals. Our piano-to-iPad connection guide explains the different iPad adapter types. An app must also support the interface’s audio inputs; receiving MIDI notes is a different capability.
Budget for the complete connection
A piano player often needs fewer accessories than a microphone bundle contains. If you already own headphones and a recording device, the main additions are the left/right audio cables and the correct USB connection. The 2i2 box list specifies a C-to-A cable, so a USB-C-only computer may require another cable or adapter.
Here are two specific cable configurations to help with the shopping list. Measure the route from the piano’s sockets to the interface, including enough slack to move the bench. A cable hanging tightly across your knees is awkward even when its connectors are correct.
Two unbalanced line outputs
The Hosa CPP-203 is a 3 m dual quarter-inch TS-to-TS cable: two plugs at the piano, two at the interface. It suits a documented unbalanced L/R output pair. Balanced outputs call for a different pair of leads.
One stereo headphone output
If the piano manual permits this route, the Hosa STP-203 has a quarter-inch TRS plug breaking out to two quarter-inch TS plugs over 3 m. Its TIP lead carries left and RING carries right. A piano with a 3.5 mm socket needs the corresponding smaller-plug breakout instead.
Cable buttons open Amazon searches for the named model and length. The two configurations are alternatives; you do not need both.
Make one short stereo test before the full take
Install the manufacturer’s required driver and select the interface in your recording application. If you have not chosen one, our free recording-software guide covers the main options. For the first test:
- Create a stereo audio track using inputs 1–2. Two mono tracks also work if they are panned fully left and right and kept together. A MIDI or software-instrument track will not record these analog inputs.
- Play the loudest passage to set levels. Start with low interface gain and the piano’s recommended output setting. Leave headroom on both meters. For an initial 24-bit test, peaks around −12 to −6 dBFS are a useful working target, not a loudness requirement.
- Listen through one monitoring route. With stereo direct monitoring enabled, disable the track’s software input monitoring. Hearing both versions can create an echo or hollow tone. Keep headphones at a comfortable level.
- Record twenty seconds, then play it back. Confirm that both channels contain audio, the loud chords remain clean and the pedal releases are intact. The two sides need not have identical waveforms. Export a stereo file and check that too.
Once the connection works, label the cables L and R and save the recording setup. Keep the piano voice, effects and recording levels consistent when comparing practice takes. Otherwise a brighter preset or a louder playback level can distract from the change you were trying to hear.
In your Practis practice notes, record the take’s filename and one observation worth returning to: “Bars 17–24, melody clear until the left-hand entry.” Keep the stereo recording in your recording app or file archive. That short note gives the next session a useful starting point.
More on gear.
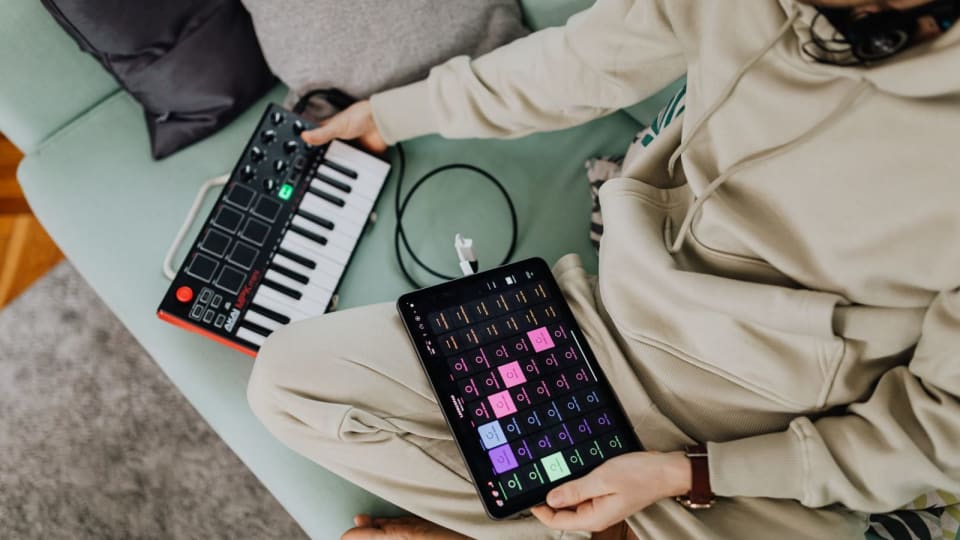
Connect a Digital Piano to an iPad: Cables, MIDI and Sound
Connect your digital piano to an iPad with the right USB or MIDI cable. Identify the ports, handle power and check that your app receives the notes.
Pract.is Editorial

Transpose a Scanned Score: PDF to MusicXML, Step by Step
Transpose a scanned score with a worked PDF-to-MusicXML example: see the recognition errors, correct the notes and download the finished score in A.
Pract.is Editorial

Homeschool Piano Curriculum: A Four-Week App-Based Plan
Build a homeschool piano curriculum around an app, with a four-week plan for reading, listening and playing, plus an editable weekly planning sheet.
Pract.is Editorial